2. Building the tagwall
Our design brief is simple. Behold, a high fidelity design mockup of our tagwall:
╔═══════╤═════════════════════╗
║                             ║
║ user1:  hey, what's up?     ║
║ user2:  everything…         ║
║ user2:  EVERYTHING!         ║
║───────┼─────────────────────║
║ Enter message…       [send] ║
╚═════════════════════════════╝
We can break it down into a list of messages (an array), an input field where we can write a new message (a string) and a button to submit the form (submit action).
For the purpose of this guide, we’ll keep the component as indenpendent and lean as we can, leaving core Ember concepts as routes and models for chapter three. Bear with me.
Creating the component
We’ll create our tagwall using an Ember component. This makes it easy to reuse for chapter four, where we’ll be creating a platform of tagwalls. Now would be a fantastic time to read up on Ember components. As component names have to contain at least one hyphen we’ll name it tag-wall. To generate it, run:
ember g component tag-wall
Following the pod structure we defined earlier, our tagwall will be generated as app/components/tag-wall/component.js and app/components/tag-wall/template.hbs. Let’s start with the markup:
<div class="Tagwall-messages">
  {{#each messages as |message|}}
    <p>{{message.text}}</p>
  {{/each}}
</div>

{{#unless readOnly}}
  <form class="Tagwall-form" {{action 'submit' newMessage on='submit'}}>
    {{input value=newMessage placeholder="Enter message…"}}
    <button type="submit">Send</button>
  </form>
{{/unless}}
The {{#each}} helper allows us iterate through our array of messages. Inside the each block we have access to the message currently being iterated as the message variable. You could also have named the variable Hummus, but it doesn’t matter. On the <form> element we’ve defined a submit action which will be called on the standard JavaScript event also called submit.
Note how we take newMessage as argument to the action helper. To back this template, we have app/components/tag-wall/component.js:
import Ember from 'ember';

export default Ember.Component.extend({
  classNames: ['TagWall'],
  newMessage: '',
  messages: [],
  readOnly: false,

  actions: {
    submit(newMessage) {
      if (newMessage.length < 1) {
         return false;
      }
      this.get('messages').pushObject({
        text: newMessage
      });
      this.set('newMessage', '');
    }
  }
});
A couple of things to note here. Because we added a readOnly:false property we now have a flag to use, in case we want to disable writing new messages for the tagwall. But we don’t now, which is why it’s set to false. For Ember to automatically be able to update our template when new messages are added, we define messages as a normal array but wrapped with Ember.A(). The last line clears the input for another message.
Using the component
To use our new component, let’s add one to our homepage. In Ember, there’s a default index route which can be used as homepage. Create the route:
ember g route index
… and add an instance of our new component to its template:
{{tag-wall}}
{{outlet}}
Try writing a couple of messages and you’ll see it more or less working. Remember you can use the Ember Inspector to check the component (and everything else in the application):
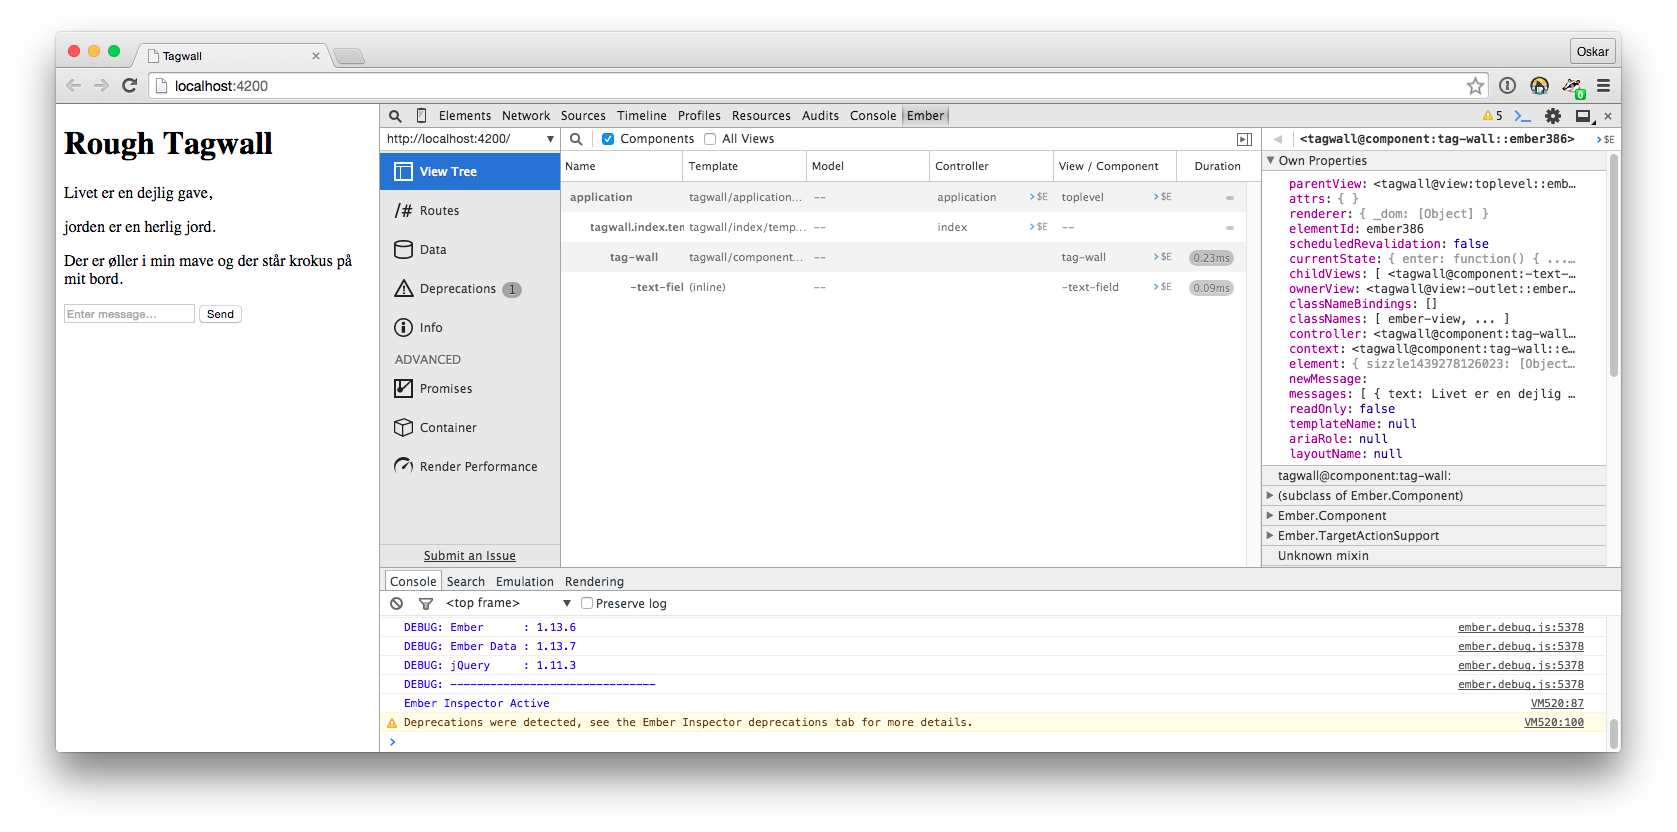
There we have it! An extremely lonely, but functioning, tagwall. The data, the messages, live like dayflies in the component. As soon as the browser window is closed, they will be gone, we’re not saving them anywhere. For them to persist we need to synchronize and connect a database.