1. Setting up
We’ll be using a bunch of tools namely: Ember.js, Ember-CLI, Firebase and Emberfire. To put the project online later we’ll use Surge. All are free tools and Surge and Firebase have premium features if you want to be pro.
For hobby projects however, we don’t need to as they have both have very generous plans, which we’ll gladly accept.
To install all of these, you need to have node.js and git running on your system. Unfortunately I don’t have the space to explain that here.
I’ve only been able to test on OS X but the ideas of the guide should hopefully pierce through platforms
Now we’ll create a new Ember project using Ember-CLI and see it working.
Creating a new project with Ember-CLI
Ember-CLI is the official build system and command-line interface for Ember.js projects. It makes developing Ember.js applications a lot easier. To install it globally on your system, open the command line:
npm install --global ember-cli
Then create a new project named ‘tagwall’:
ember new tagwall
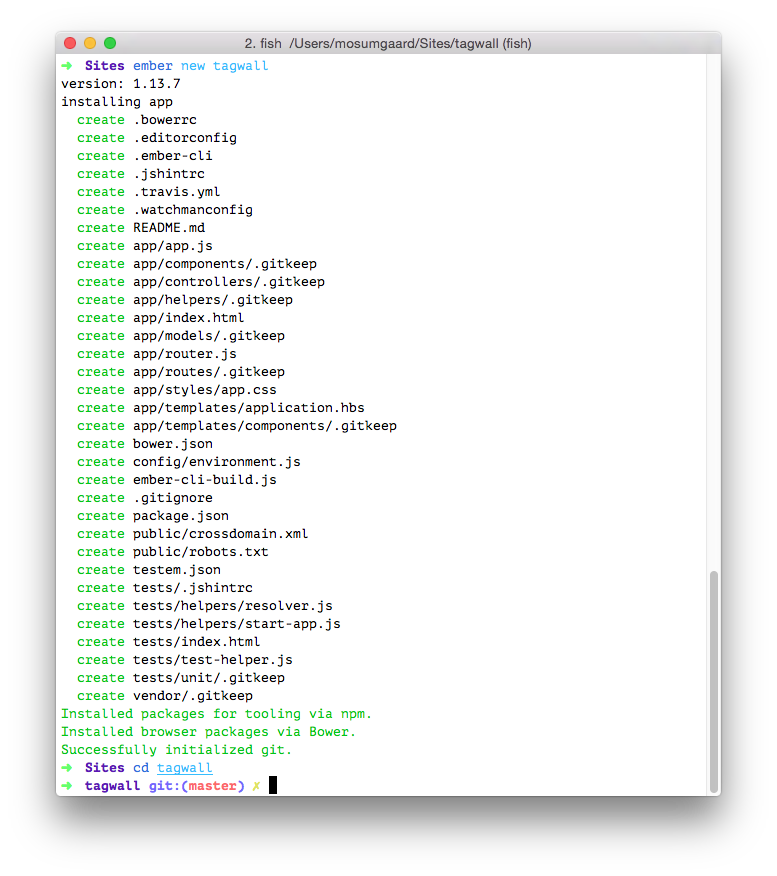
Depending on your internet speed it might take ~1-10mins to download and install everything. With my connection it even fails sometimes but a second npm install usually does the trick. With everything done it should look like this:
Note: As of this writing, Ember-CLI was on version 1.13.7
The CLI has now bootstrapped everything and we can open the folder to check it out:
cd tagwall
open .
You’ll see tons of files and folders but we’ll mostly be concerned with the app folder. Let’s tell Ember-CLI that we want to use a pod structure. Pods allows us to group files by structure rather than type. For instance, instead of templates clamped together in app/templates/, they’ll be split out under their route such as app/posts/template.hbs. Don’t worry about it too much, it’ll make sense soon. If you want, see more on the pod structure.
To use pods, edit the hidden .ember-cli file to:
{
  "disableAnalytics": false,
  "usePods": true
}
Making sure it runs
Because our app was generated without pods, we’ll delete app/templates/application.hbs and the app/controllers folder. While it’s easy enough to delete files using the Finder in OS X, we’ll now do it using trash-cli, which is a lot safer than using rm.
npm install --global trash
trash app/templates/application.hbs app/templates/components app/controllers
Now it’s time to create a new application route and template. Here it is important to know that Ember CLI automatically knows about files inside app/. When using pods you place files by their route, if they have one. So to create a new “application” route and template we have to create a route.js and template.hbs in app/application.
But since we have Ember-CLI, we don’t need to do it ourselves. Make sure you are inside the tagwall folder that was created and run:
ember g route application
In the application template you’ll find an {{outlet}} which is where Ember renders our templates. To see your site, Ember-CLI can start a local server which will automatically refresh the browser every time you change a file. Very practical, try it out:
ember serve
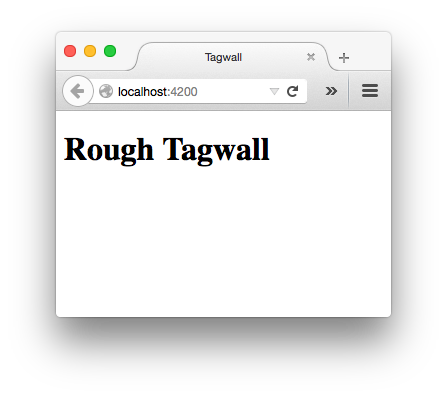
Let’s edit the application template to test it out:
<h1>Rough Tagwall</h1>
{{outlet}}
Open up your browser on http://localhost:4200 and rejoice! It’ll look something like this:
Building and deploying
The last part of setting up is deploying the project with Surge.sh. A brilliant (free!) service for deploying static sites, exactly like ours. Stop the Ember-CLI server using ctrl+c in the Terminal, then build the project:
ember build --environment=production
Note, here we specify a production environment. This is what will minify all our files and prepare everything for deployment. When it’s done your project will be available in the dist folder. Check it out. This is what you should put online. You should never change anything in the dist folder yourself. If you haven’t already installed Surge, it’s one command away:
npm install --global surge
Now deploy using surge:
mv dist/index.html dist/200.html
surge dist
If it’s your first time using Surge you’ll need to supply a username as well to make sure no one else can overwrite your project. Note that we also rename index.html to 200.html for client-side routing. Without it, the server wouldn’t know that we want a URL as example.com/some/ember/route to be handled by example.com/index.html — and not go to the some/ember/route folder.